Let me start by saying I am the quintessential crazy Christmas lady. Some might find being called crazy offensive, but when it precedes the words "Christmas lady", I actually consider it somewhat of a compliment. I can barely get through Halloween before I'm thinking and talking about Christmas. Yes, I'm one of those people. We get our tree the day after Thanksgiving. By evening, the lights are up around the outside of the house. I drag my husband out first thing in the morning and by the end of the day our house is transformed into a winter wonderland. Lights are strung, stockings hung, holiday music blaring. He might be inclined to say that my holiday spirit borders on annoying, but year after year, he begrudgingly appeases me.
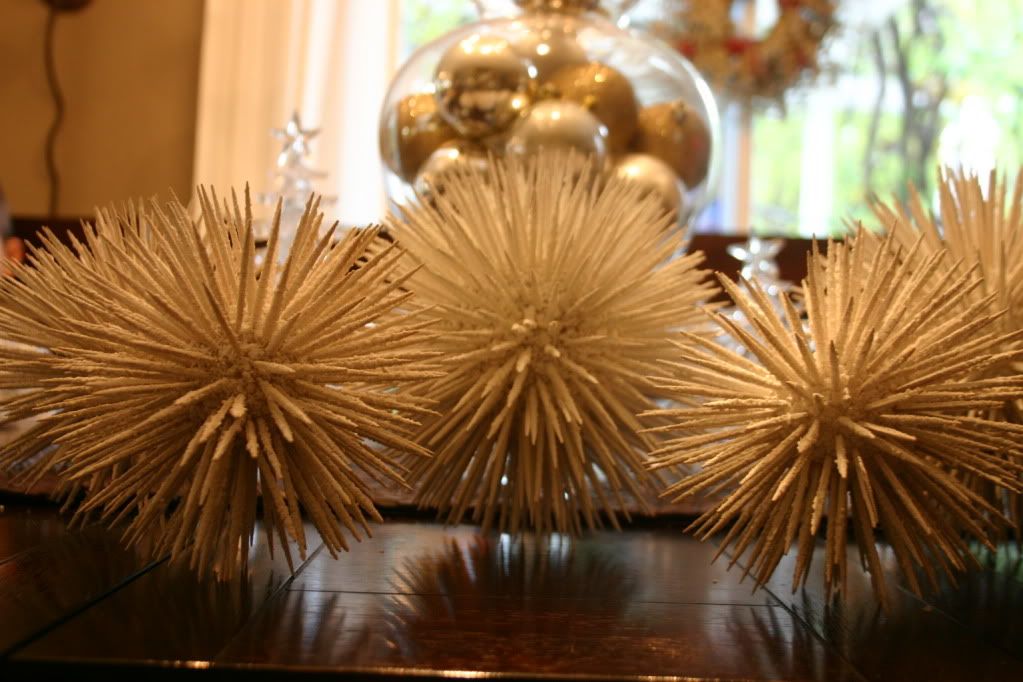
The holiday season is only a month long and I squeeze every possible second out of it that I can. Decorating my house for the holidays is one of the many things I enjoy this time of year. Twinkling lights, sparkling silvers and golds, the fresh smell of pine. It is a magical season, and by far my favorite. My son is old enough this year to really get excited about the decorations and festivities and I love that he is almost as enthusiastic about it as I am. I make lots of crafts this time of year, and although I made these snowballs over seven years ago, they are still one of my favorite Christmas decorations. They have held up beautifully over the years, in fact this was the first year that I applied a fresh coat of "snow" to them, other than that they have required no maintenance.
These "snowballs", although time consuming, are very economical and easy to make. Being that I'm obsessed with all things Christmas and crafty, I derive lots of joy from making decorations, especially ones as cute as these. I originally made seven balls and this year I plan on making a few more for the mantle. The materials used in this craft are not suitable for young kids but older ones can help push the toothpicks into the styrofoam balls and apply the snow.
Materials needed:
white Styrofoam balls ( I used a few different sizes, 2", 4", 5")
toothpicks
white spray paint
snow spray
Start with one ball at a time. Push toothpicks into styrofoam until ball is completely covered. I inserted toothpicks about every 1/4 inch. Cover your work surface and make sure you are in a well ventilated area. Apply white spray paint making sure to thoroughly cover toothpicks. Allow time to dry.
Hold can of snow about 12-18 " away from snowballs. Apply snow until desired look is achieved. If you hold the can too close to the styrofoam, the force of the air will make an indentation in the styrofoam ball.
Storage: After the holiday season, store balls in plastic bins with cardboard pieces separating each one.
Maintenance: Occasionally you will need to reinsert some toothpicks that have fallen out. Additionally, an extra coat of snow may be required from time to time.
Variations: Using smaller styrofoam balls, 1",2",3" make balls as described above. After spraying on snow, sprinkle glitter on balls while wet. Attach a ribbon and use as ornaments!
Happy Holidays!

No comments:
Post a Comment