Sunflower butter balls. Oh how I love thee. These heavenly little bites are so delicious and so addicting that I honestly have a love-hate relationship with them. Sure, they are full of nutritious, wholesome ingredients, but eating a whole batch ( you read that right, a whole batch) in one sitting pretty much cancels out all the health benefits. I love to work out, but I don't need to be devouring an entire plate of sunflower butter balls to undo all the hard work I put in. I know what you're thinking. Sunflower butter balls? They can't be that good. You're right, they're not. They're better than good. They are demolish an entire batch good. Hide them in the back of the freezer so no one else can eat them good. Please, don't take my word for it, make a batch, stick them in the freezer and decide for yourself. If you don't go back for seconds and thirds, I admire and commend your self-control.
This particular recipe was born out of necessity. My youngest son Dylan was experiencing sensitivity to foods I was eating through my breast milk. After eliminating various foods, I ultimately ended up doing a total elimination diet. It was torture for me but an instant cure for my little man. For what seemed like an eternity I lived on a severely restricted diet. Then slowly, I started adding foods back in, one at a time, waiting four or five days in between to ensure that if he did react to something new I had eaten, I would know which one was the culprit. Luckily, the first few additions were added without any adverse reaction. Then I tried kale, and oh boy, did Dylan react. So now I knew, I wouldn't be enjoying kale for quite some time. On the total elimination diet, the method of adding foods back in is simple. You start with the ones least likely to cause a reaction, like oats, beets, and bananas, and work your way up the list.
After two months of having nothing sweet to speak of, except for fruits, I was dying for something that even loosely resembled a treat. I eat extremely well but I have never been known to deny myself a sweet treat. I just try to be smart and choose healthy options. I had been making peanut butter balls for some years now, they are Jayden's absolute favorite. They are ridiculously easy and quick to prepare, consist of ingredients I always have on hand, and are really good for you. Oh, and they taste amazing! But peanut butter is one of the last foods I can try, as it is one of the top 8 most allergenic. What was a woman in desperate need of some wholesome sweets to do?
Luckily, sunflower seeds were one of the first things I had successfully added back into my diet and oats had already passed the Dylan test. Then it hit me. I could use sunflower butter instead of peanut butter and I would have a revised edition of my favorite treat! My excitement was hard to contain. Excitement over sunflower butter balls? Pathetic, I know. But just wait until you try them and then imagine sinking your teeth into these scrumptious little bites after months of eating the same bland food, day in and day out. I was in heaven.
And that is where my tumultuous relationship with these tasty treats began. I found myself going through jars of sunflower butter at an alarming rate. I think at my worst I may have polished off two jars in one week! And it wasn't just me. I passed this recipe onto my best friend, who had been using sunflower butter for quite some time because her daughter attends a peanut free school. The day after I gave her the recipe, I woke up to a verbal chastising on Facebook. She too had discovered how hard it was not to gorge herself on these little goodies. She demanded to know why on Earth I had introduced her to these heavenly morsels. She begrudgingly admitted that her husband had to intervene and force her to stop eating them. These sunflower balls may look innocent enough, but they have already brought two health conscious women to their knees.
Sunflower butter balls are wonderful for those wanting peanut free alternatives or people looking for healthier options when it comes to dessert. Their high protein content and natural honey make them perfect for a pre or post workout snack. Not to mention, they are a favorite amongst kids and a simple recipe that they can help make. Just don't say I didn't warn you, these puppies are addicting. They are best kept in the freezer, I've tried them in the refrigerator and straight from the bowl (shocker!) but both the texture and taste are best when frozen.
Sunflower Butter Balls
1 c sunflower butter ( you could also use peanut butter or other nut butters)
1 c honey (preferrably raw)
2 c rolled oats
2 c crispy brown rice cereal (Barbara's, Erewhon and even Rice Krispy's make a brown rice cereal)
Mix sunflower butter and honey together in large bowl. Add in oats and rice cereal until incorporated.
Moisten hands with water to keep mixture from sticking and form into 1" balls.
Place in freezer and once they harden, transfer to a Ziploc bag where they will keep for a month or more, but I guarantee you won't need to worry about that!
Dehydrated sprouted brown rice
baby cereal. Sounds much too complicated to attempt, doesn't it? I am here to tell
you that all it really takes is a little forethought and a tad bit of planning and you can
make this nourishing, nutritious whole grain cereal for your little one. Four
years ago, I had my first son Jayden,
and my whole world changed. Before becoming a mother I had always taken pretty
good care of myself and made healthful choices. I was fortunate to grow up with
a mom who cared about nutrition and thankfully I continued to live that way once
I was on my own. But now I was a mommy. I had created a perfect little being and
I was intent on keeping him that way, so my health conscious attitude went into
overdrive. I began scrutinizing every morsel of food, every drop of water, every
product that entered our home.
So when it came time for Jayden to start solid food, it was a given that I would be making it myself. I
made every bite, he never had food from a jar, not even once. I knew I was
giving him the most nutritious, freshest food I could and that gave me an
immense sense of satisfaction. I was given this perfect, unblemished little boy
and the last thing I was going to do was pollute his new system with garbage.
And so began my journey of clean living and of ensuring that I was providing the
best nutritional foundation I could for our son.
Fast forward three and a half years, and our family was
blessed again with another perfect little boy. Now a busy mom, his infant days
seemed to fly by. It really is true what they say, once you have one, the next
grow up twice as fast. Long gone are the lazy days of one baby, where I was able
to soak up every minute, capture every first on film, stare longingly as my baby
slept, and actually had the luxury of utilizing nap time to accomplish things .
Now our days are packed to the max with school, soccer, tee ball, errands, and
even the occasional attempt to maintain a clean household! I knew once
Dylan was born that this time around was not going to be the same. There just
aren't enough hours in the day. Amidst all the craziness I knew there was one thing I
wouldn't be sacrificing, no matter how busy our days got, and that was his nutrition. I
would be making all his food too, just like his big brother. I admit I was a
little concerned that I wouldn't find the time for it, squeezing in one more
thing into my schedule seemed impossible. But as Dylan neared his six month
birthday, I reminded myself that if it is important, you find a way. So here I
am, embarking on homemade baby food, round #2!!
I have learned a great deal about nutrition since giving
birth to Jayden, and one of the most
compelling bits of information was definitely the importance of soaking grains.
Soaking and sprouting grains has been done for thousands of years, in every
culture. Sadly, like many time honored traditions, this one has fallen by the
wayside for us busy Americans. Most of us barely have time to put a hot meal on
the table, let alone even entertain the idea of soaking and sprouting our grains
beforehand. I too was skeptical that I could fit yet another thing into our
daily lives, but once I learned about all the benefits I knew it was something I
had to do. As I began my sprouting adventure, I quickly realized that all it
takes is a little planning. And like I said before, if something is worth doing,
you make time for it.
Why soak or sprout your grains you ask? It's pretty simple
really. All grains are seeds and contain a substance called phytic acid. Basically, it's the seed's
shield, that protects it until it conditions are right for it to be germinated
and become a living plant. These enzyme inhibitors, wreak havoc in our systems
when we ingest them. They are toxic, and actually prevent us from absorbing all
the precious minerals and vitamins the grains contain, namely calcium, iron and
magnesium and also make the grain difficult to digest. Not only is consumption
of phytic acid harmful, but the process
of soaking and sprouting the grain actually makes it more nutritious.
Once grains have been sprouted they are alive and rich in bioavailable
vitamins, minerals, amino acids, proteins and phytochemicals, all things that are essential
for a plant to grow. The sprouting process
unlocks the true nutritional value lying in these seeds and the vitamin content
of some seeds can skyrocket to twenty times the original amount within a few
days of sprouting. So simply put, eating grains, (or any nut, seed, or bean)
without soaking and sprouting is detrimental to our health, which is so ironic,
since the reason many of us eat them is to lead a healthier life. But the simple
act of sprouting reduces or eliminates the phytic acid and increases the overall
nutritional profile of the seed as well as aiding in digestion.
That being said, when it came time to start Dylan on
grain cereal, I knew I would be sprouting grains to make my own sprouted
grain cereals. Not only did the benefits of sprouting make it totally
worthwhile, but the idea that consuming unsprouted grains leads to malabsorption of
vital minerals made it essential that I do so. Iron is a precious commodity for
babies, (especially exclusively breastfed ones, which my baby is) and their iron
reserves start to deplete around the six month mark, right around the time they
start on solid food. Armed with all my sprouting knowledge, I wasn't about to
feed him something that was going to keep him from absorbing vitamins and
minerals, after all, I am trying to provide him with those, not take them away.
And so began my sprouted cereal journey.
In theory it all sounded so good, yet seemed so daunting.
I mean, who are we kidding, dehydrated sprouted brown rice cereal sounds like
something you can only buy in a store, not make in your own kitchen. I am here
to tell you that you can easily prepare this nutritious first food for your
little love, without any sweat, blood, or tears. All you need is a wee bit of
planning, and a few kitchen gadgets don't hurt either. I am fortunate to have a
dehydrator at my disposal, (a recent gift from my wonderful hubby) which is
indispensable for this recipe. Why can't you use your oven you ask?
Unfortunately, most ovens only get down to 170 degrees, 150 if you're lucky, and
that temperature is just too high to dry grains. It will dehydrate
them, but in the process, the high heat will kill all the beneficial enzymes we
are trying to preserve. I have heard of people using the oven by turning it on
it's lowest setting, and then leaving the door partially open. While this may
work, it is not the most effective or safest method of dehydrating, not to
mention a huge waste of energy! I myself have not used this method, and cannot
attest to it's effectiveness.
Sprouted Brown Rice Cereal
2 c organic brown rice (any brown rice will
sprout, but short grain tends to sprout in less time)
warm, filtered water to cover
wide mouth mason jars
sprouting screens or cheesecloth
Begin by rinsing the rice well under running water. Pour
rice into jar and cover with water. Cover with lid of your choice. I use
cheesecloth secured with a rubber band.
Allow to soak 8-24 hours ( I find that overnight is the
best and easiest way for me.)
In the morning, rinse and drain rice well. Invert jar over
a bowl at an angle, allowing for water to drain and air to circulate. Leave in
an area away from direct sunlight. Rinse and drain at 8-12 hour intervals, until
small sprouts appear.
I like my rice with small tails, about an 1/8th of an
inch. Your rice is now alive and a nutritional powerhouse!!
Place sprouted rice onto fruit leather trays and put in
your dehydrator at 95- 110 degrees. Dry for 12-24 hours until rice is completely
dry. Mine are usually ready after about 10-12 hours. At this point, the sprouted
rice can be ground into flour. You will want to grind your rice into a fine
powder. I like to grind all the rice and then label and store the flour in the
freezer. Alternately, you can freeze the rice as is, and grind as you need it.
Whole grain flours, and especially sprouted ones can turn rancid very quickly
and proper storage is essential. When ready to use, just measure out desired
amount and keep the rest in the freezer. Don't forget, sprouted grain flours are
great for use in baking breads, making tortillas, crackers, pizza doughs, or any
other baked good, not just for making baby cereal!
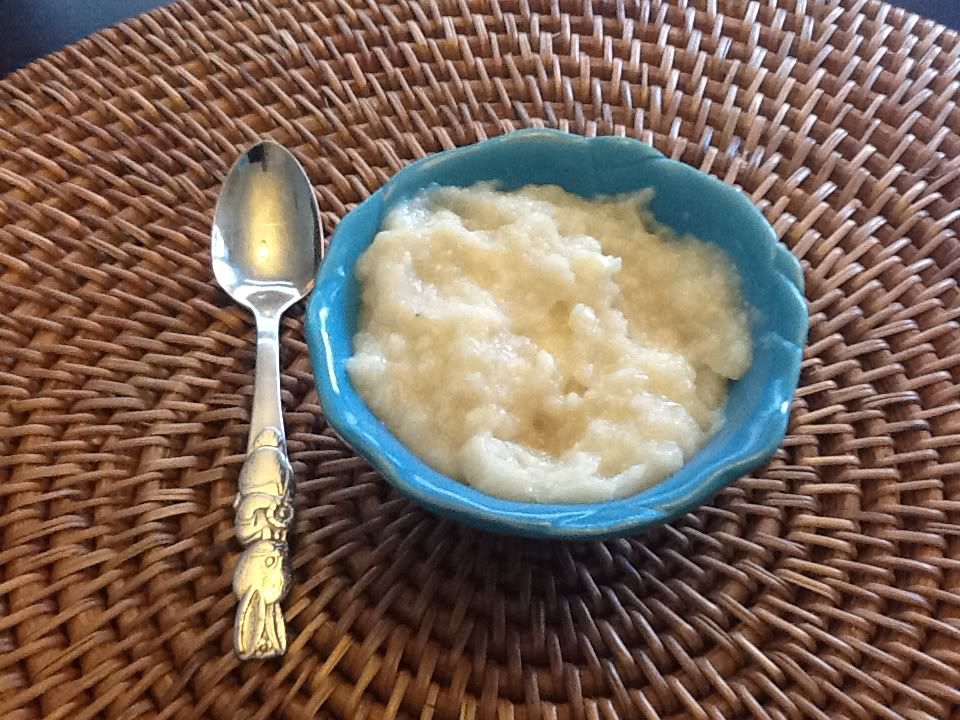
Now for the cereal. I only make one or two servings at at
time because baby cereals tend to get gelatinous if made and reheated.
1/4 c sprouted rice flour
2 c water
Bring water and rice flour to a boil with lid on. Reduce
heat to low and simmer for 15 minutes, whisking occasionally to reduce clumping.
If cereal is too thick for your baby's liking, add more water, breast milk, or
formula to thin to desired consistency.
Sprouted brown rice cereal is perfect by itself as a first
food or mixed with other fruit or veggie purees.
I am always on a quest to find treats that I can feel good about feeding to my family. I admittedly have a HUGE sweet tooth, and I love when I find recipes that I too can indulge in without feeling guilty. Rice crispy treats have been a favorite of mine since I was a kid. I love the texture and the taste. But refined cereal and gooey marshmallows don't necessarily fit into my nutrition mantra. I've managed to make them healthier over the years by using brown rice cereal and adding ground flax and they were delicious as well as much more nutritious. This time I wanted to up the nutrition value even more so I added oats and peanut butter. The result- a cross between an chewy granola bar and a rice crispy treat. Can you say yum???? And don't forget, these bars may taste and look like dessert but they are full of omega 3 fatty acids, protein, fiber, and a whole slough of vitamins and minerals. Tastes good. Good for you. That's my goal with everything I make.
These are a great treat to let the kids help with, Jayden did all the scooping, pouring and mixing. Of course, quite a bit of the mixture found its way into his little mouth along the way, but what fun is cooking if you can't sample the goods? Another reason these treats are a favorite of mine is because they are so easy to make and I don't have to turn on the oven. I can whip up a batch in ten minutes, and being 41 weeks pregnant, (yes you read that right- 41 weeks!) I'll do anything if it can save me some time and doesn't require a lot of energy, because right now I'm short on both. As you can see from the picture I added mini chocolate chips to this batch. Normally I make them without, but since Jayden is about to become a big brother in a matter of days, I figured we could make an extra special treat this time.
Brown Rice and Oat Crispy Treats
1 3/4 c oats ( you can use rolled or quick cooking)
1 3/4 c brown rice cereal ( I use Erehwon)
1/4 c ground flax seed
1/2 c honey, brown rice syrup, agave, or corn syrup ( I use 1/4 c honey and 1/4 c brown rice syrup)
1/2 c brown sugar
1/2 natural peanut butter
1 t vanilla
Other variations to try:
1/4 c mini chocolate chips, put in freezer for 30 minutes before mixing in to prevent melting
1/2 c raisins
1/2 c chopped nuts or seeds
Lightly grease 11 x 7 inch pan. You can use a 13 x 9 but you will end up with a thinner bar.
In a large mixing bowl combine cereal, oats, and flax.
Combine honey, brown rice syrup, and brown sugar in a saucepan over medium heat. Stir until mixture just comes to a boil. Remove from heat and stir in peanut butter and vanilla.
Pour mixture over dry ingredients and mix well until combined. If adding any additional ingredients, do so now.
Transfer mixture to prepared pan and press mixture down evenly.
Put in refrigerator for an hour to set up. After that, they can be stored at room temperature in an airtight container for a week.
Turn out onto a cutting board and cut into desired size bars.