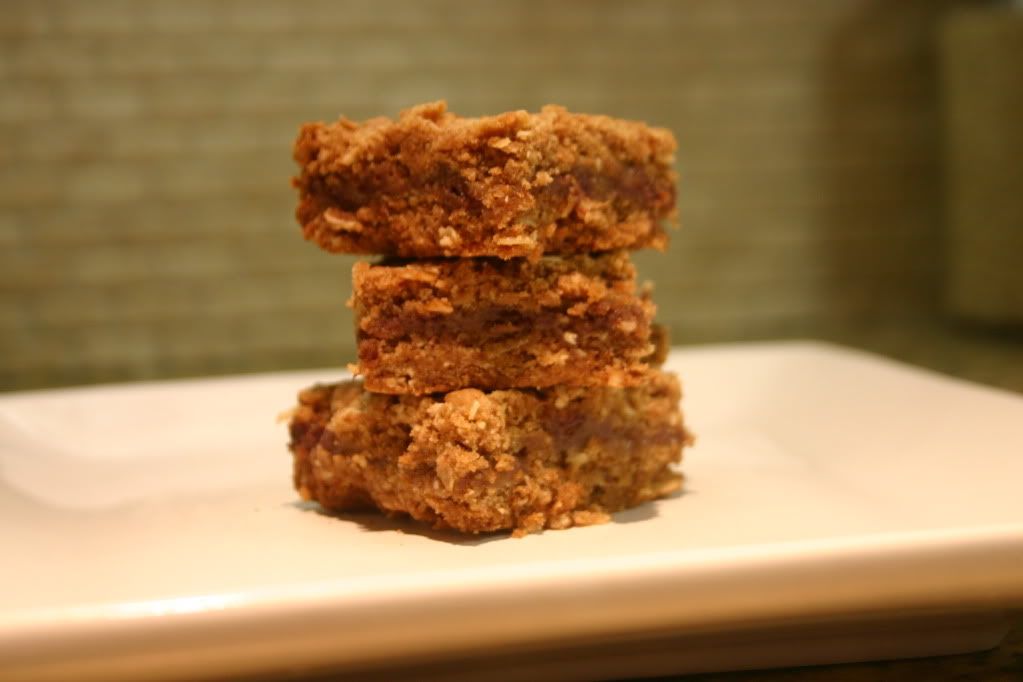
Sunflower butter balls. Oh how I love thee. These heavenly little bites are so delicious and so addicting that I honestly have a love-hate relationship with them. Sure, they are full of nutritious, wholesome ingredients, but eating a whole batch ( you read that right, a whole batch) in one sitting pretty much cancels out all the health benefits. I love to work out, but I don't need to be devouring an entire plate of sunflower butter balls to undo all the hard work I put in. I know what you're thinking. Sunflower butter balls? They can't be that good. You're right, they're not. They're better than good. They are demolish an entire batch good. Hide them in the back of the freezer so no one else can eat them good. Please, don't take my word for it, make a batch, stick them in the freezer and decide for yourself. If you don't go back for seconds and thirds, I admire and commend your self-control.
This particular recipe was born out of necessity. My youngest son Dylan was experiencing sensitivity to foods I was eating through my breast milk. After eliminating various foods, I ultimately ended up doing a total elimination diet. It was torture for me but an instant cure for my little man. For what seemed like an eternity I lived on a severely restricted diet. Then slowly, I started adding foods back in, one at a time, waiting four or five days in between to ensure that if he did react to something new I had eaten, I would know which one was the culprit. Luckily, the first few additions were added without any adverse reaction. Then I tried kale, and oh boy, did Dylan react. So now I knew, I wouldn't be enjoying kale for quite some time. On the total elimination diet, the method of adding foods back in is simple. You start with the ones least likely to cause a reaction, like oats, beets, and bananas, and work your way up the list.
After two months of having nothing sweet to speak of, except for fruits, I was dying for something that even loosely resembled a treat. I eat extremely well but I have never been known to deny myself a sweet treat. I just try to be smart and choose healthy options. I had been making peanut butter balls for some years now, they are Jayden's absolute favorite. They are ridiculously easy and quick to prepare, consist of ingredients I always have on hand, and are really good for you. Oh, and they taste amazing! But peanut butter is one of the last foods I can try, as it is one of the top 8 most allergenic. What was a woman in desperate need of some wholesome sweets to do?
Luckily, sunflower seeds were one of the first things I had successfully added back into my diet and oats had already passed the Dylan test. Then it hit me. I could use sunflower butter instead of peanut butter and I would have a revised edition of my favorite treat! My excitement was hard to contain. Excitement over sunflower butter balls? Pathetic, I know. But just wait until you try them and then imagine sinking your teeth into these scrumptious little bites after months of eating the same bland food, day in and day out. I was in heaven.
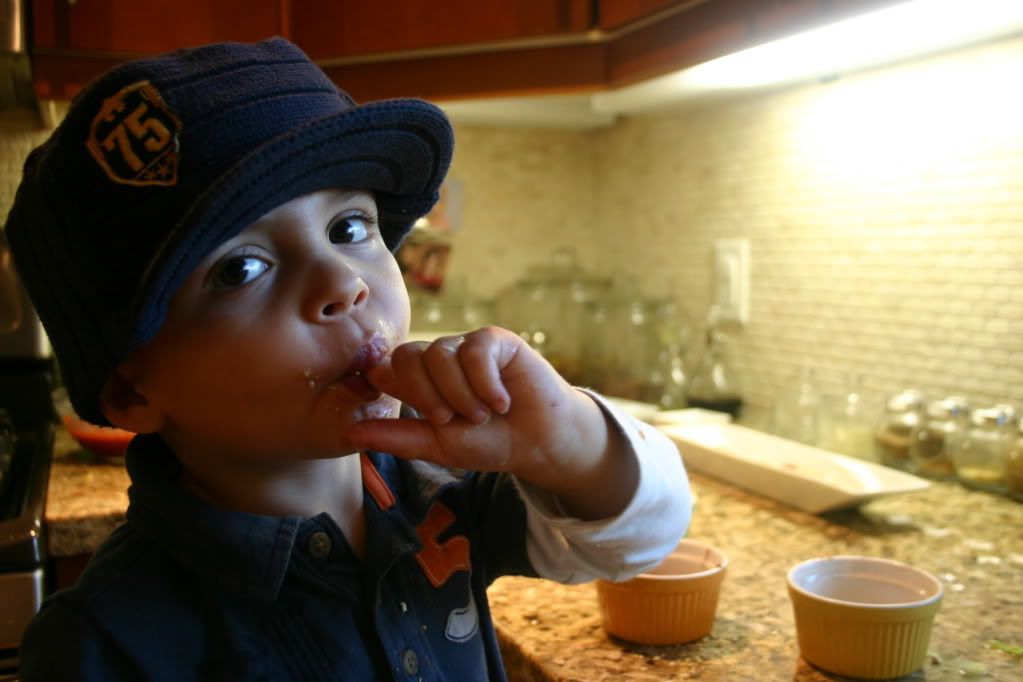
And that is where my tumultuous relationship with these tasty treats began. I found myself going through jars of sunflower butter at an alarming rate. I think at my worst I may have polished off two jars in one week! And it wasn't just me. I passed this recipe onto my best friend, who had been using sunflower butter for quite some time because her daughter attends a peanut free school. The day after I gave her the recipe, I woke up to a verbal chastising on Facebook. She too had discovered how hard it was not to gorge herself on these little goodies. She demanded to know why on Earth I had introduced her to these heavenly morsels. She begrudgingly admitted that her husband had to intervene and force her to stop eating them. These sunflower balls may look innocent enough, but they have already brought two health conscious women to their knees.
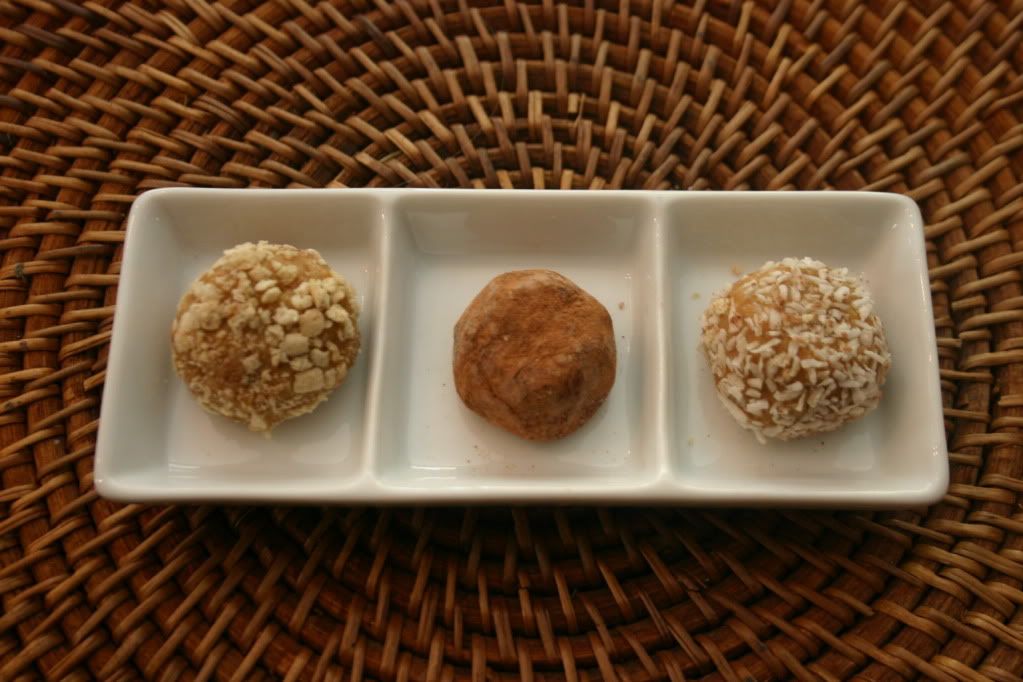
Sunflower butter balls are wonderful for those wanting peanut free alternatives or people looking for healthier options when it comes to dessert. Their high protein content and natural honey make them perfect for a pre or post workout snack. Not to mention, they are a favorite amongst kids and a simple recipe that they can help make. Just don't say I didn't warn you, these puppies are addicting. They are best kept in the freezer, I've tried them in the refrigerator and straight from the bowl (shocker!) but both the texture and taste are best when frozen.
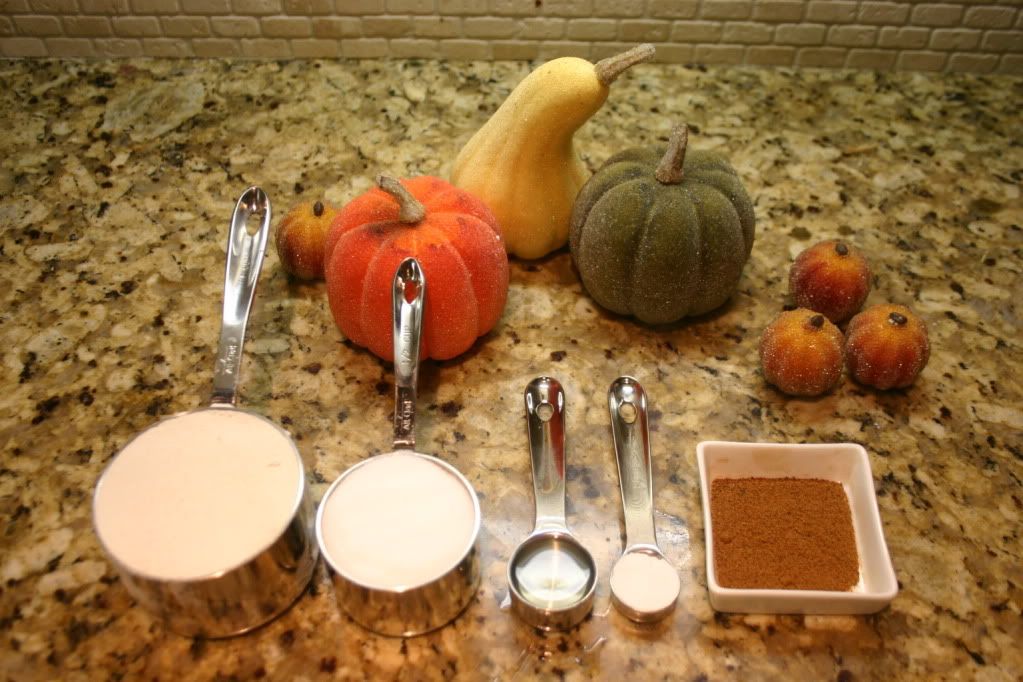
Sunflower Butter Balls
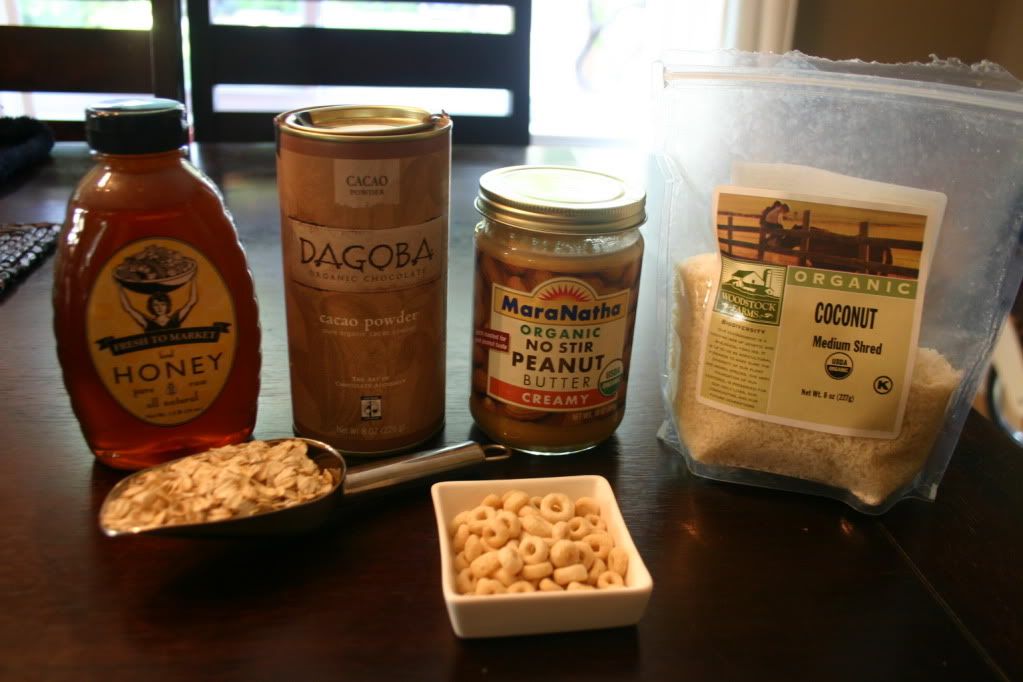
1 c sunflower butter ( you could also use peanut butter or other nut butters)
1 c honey (preferrably raw)
2 c rolled oats
2 c crispy brown rice cereal (Barbara's, Erewhon and even Rice Krispy's make a brown rice cereal)
Mix sunflower butter and honey together in large bowl. Add in oats and rice cereal until incorporated.
Moisten hands with water to keep mixture from sticking and form into 1" balls.
Place in freezer and once they harden, transfer to a Ziploc bag where they will keep for a month or more, but I guarantee you won't need to worry about that!